Implementing ads in Flutter: Monetize your app with AdMob
Nikodem Bernat · Aug 27, 2024 · 8 min read
After finishing your awesome project the next logical step is to monetize it. Fortunately, When it comes to mobile apps there are many ways to do so. The most basic ones include:
In-app purchases (including consumables, and non-consumables)
Subscriptions
Ads
Today, we will focus on the last one - ads!
If you'd like to learn more about in-app purchases and subscriptions, please let me know, and I'll prepare more tutorials about it.
Do's & Don'ts
Many packages allow you to implement ads in your app. In this tutorial, we will use the latest version of google_mobile_ads which is the official package from Google. Prefer to avoid packages like easy_ads_flutter that try to merge multiple SDKs into a single one (especially if you use only one of them). Such packages are extremely heavy and add a lot of overhead that most people don't use and it may make your app less performant.
Configuring your AdMob account
The very first step is to configure your AdMob account. You can do it by going to apps.admob.com and finishing the registration process. Remember to disable any ad-blocking software, because it can make it impossible to complete the onboarding process.
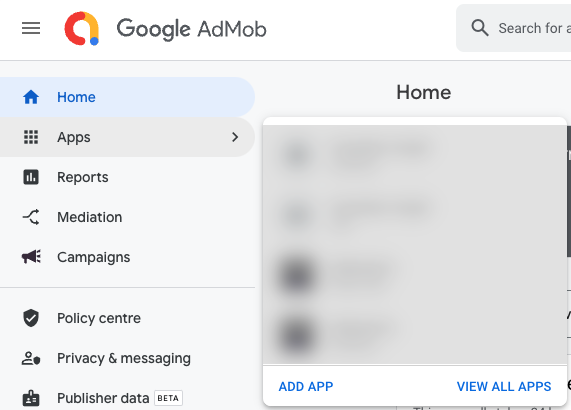
Once you finish that, navigate to Apps and select Add App.
Since we have a Flutter app, it will run on both iOS and Android. To display ads on both platforms first select:
Platform = Android
Is the app listed on a supported app store? = No
Continue
App Name = Your App Name
Afterward, go through Apps -> Add App again, but this time configure iOS.
Platform = iOS
Is the app listed on a supported app store? = No
Continue
App Name = Your App Name
We are required to provide links to our app in app stores, but since we haven't published it yet we will skip that part for now, and come back to it later once our app is published.
Now, when you go to Apps -> View All Apps you can see all of your apps and their respective App IDs. Keep in mind that there is a difference between App ID and Unit ID. When implementing ads we will work with two different (but similar-looking) ID types, so be careful which one is which.
Copy your App IDs for iOS and Android to a temporary location as you will need them in a second. Those IDs are in the following format:ca-app-pub-0000000000000000~0000000000.
The next step is to navigate to each of your apps, and open Ad units.
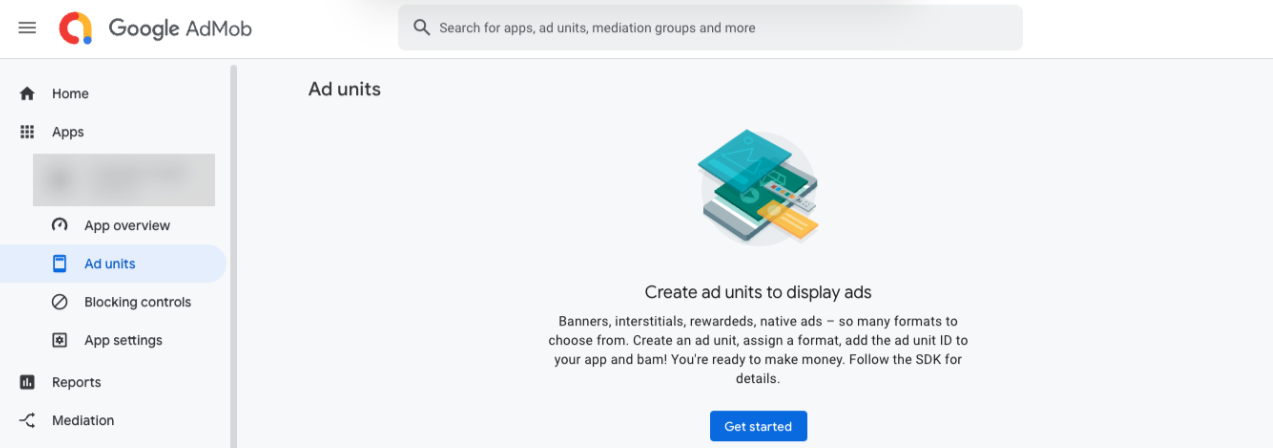
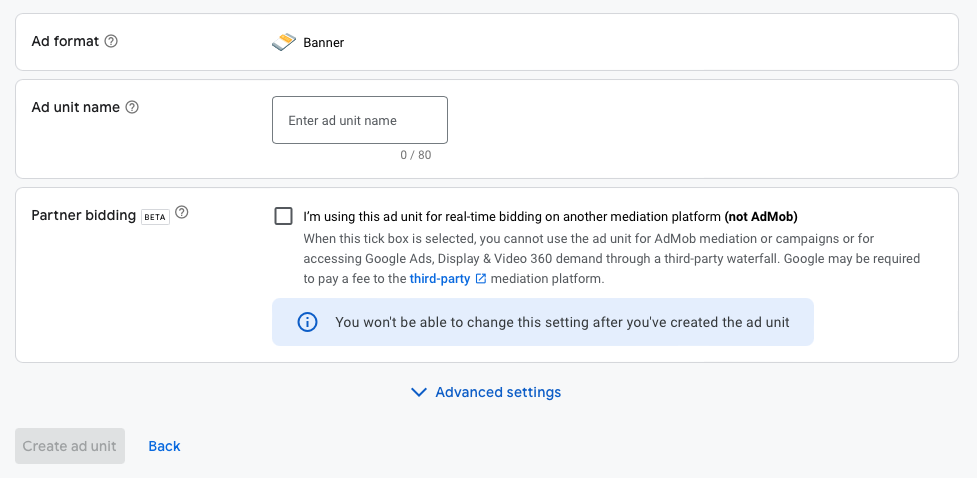
In this view click on Get started, and create your ads.
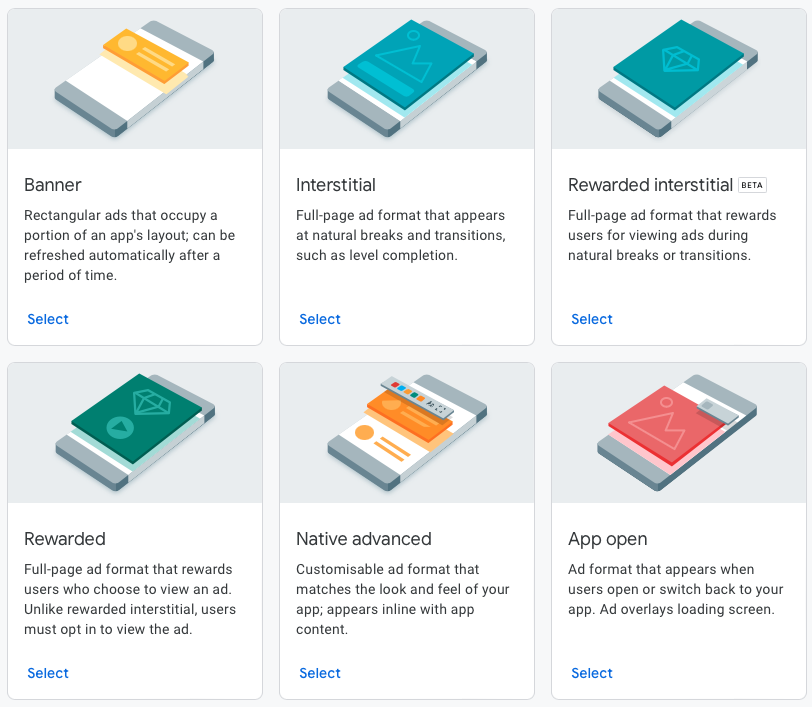
Today, we will implement inline banner ads, because next to native ads, such ads are the least disruptive to the user experience if you implement them nicely.
After you select your desired ad type, in the Ad unit name field you have to provide a name for it. It doesn't really matter what you pick as currently we have only one type of ad in the app, but it's best to use something easily-distinguishable if we decide to add more ad types in the future.
Once you've created your ad, copy its Unit ID. This ID is in the following format:ca-app-pub-000000000000000/0000000000.
Remember to go through the same steps for iOS after configuring Android.
After you are done with that, don't close AdMob just yet, we will need it for one more thing in a second.
Set up an app-ads.txt file
Recently, Google started requiring all app developers to create a file called app-ads.txt to ensure that ads are shown only through verified channels. You will need to place it in the root directory of your domain (e.g. https://example.com/app-ads.txt). This file has the following structure:
google.com, pub-0000000000000000, DIRECT, 0a1b2c3d4e5f6789
To get yours, go to Apps -> View All Ads -> Apps -> Set up app-ads.txt (small button in the top right corner of https://apps.admob.com/v2/apps/list) and copy the content of your file. The next step is to host it on your website.
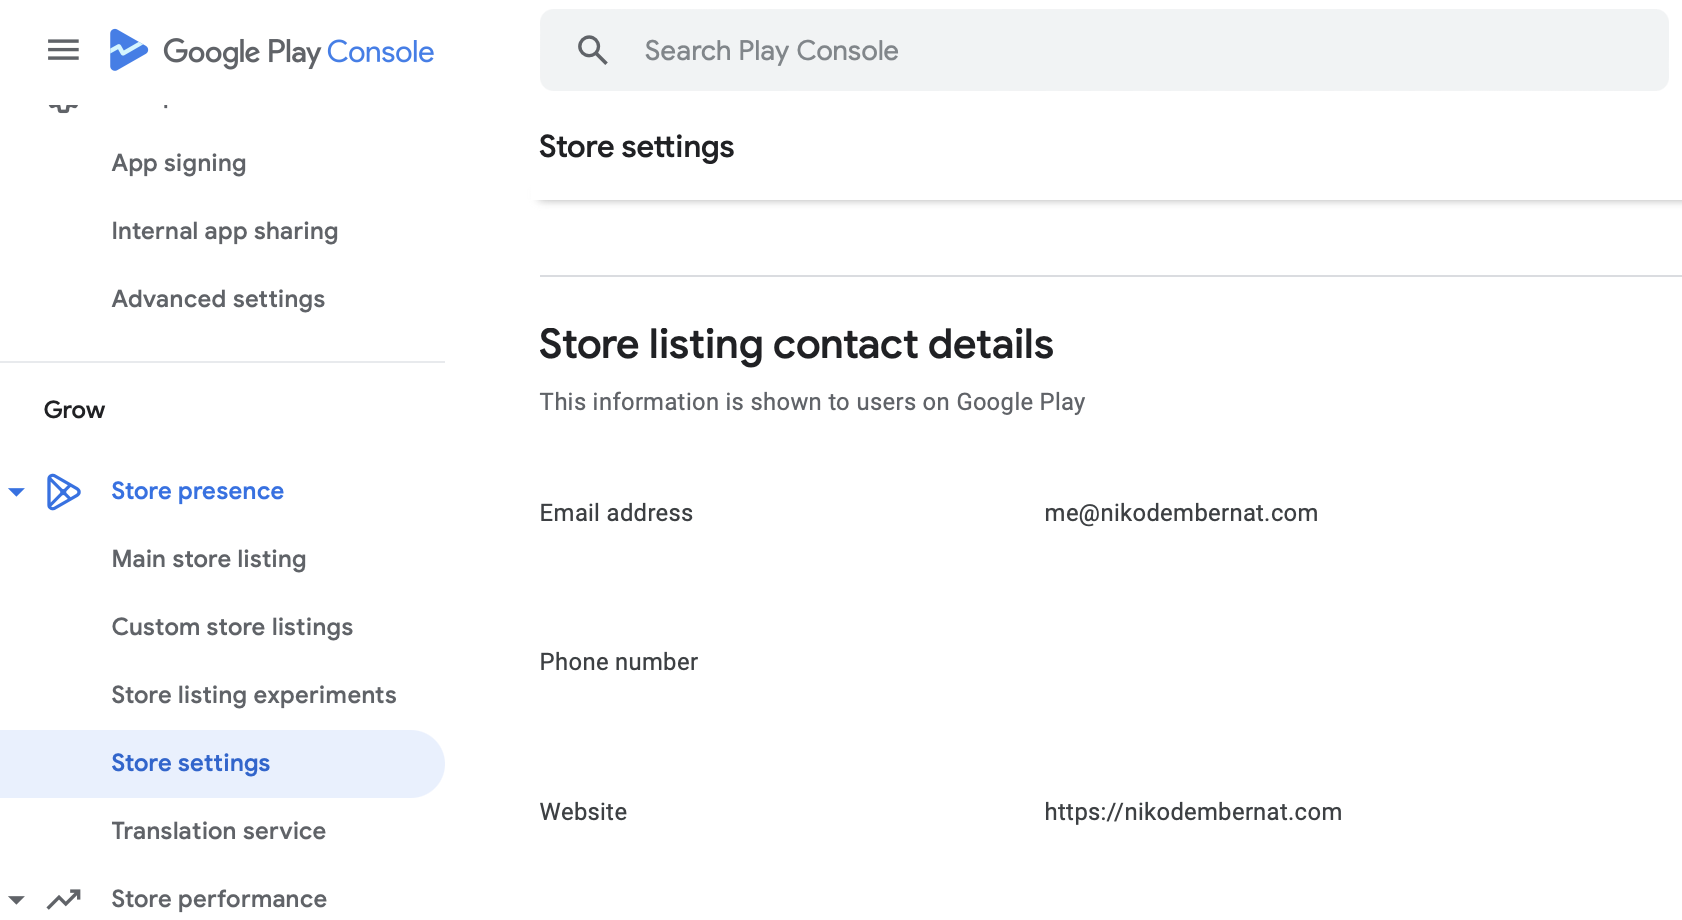
Once you are done with that, ensure that in Google Play Console and App Store Connect you have entered the correct domain for your app.
In Google Play Console it's available after you go to your app's page, and then navigate to Grow -> Store presence -> Store settings -> Store listing contact details. The website provided there must match with the website that is used to host the app-ads.txt file.
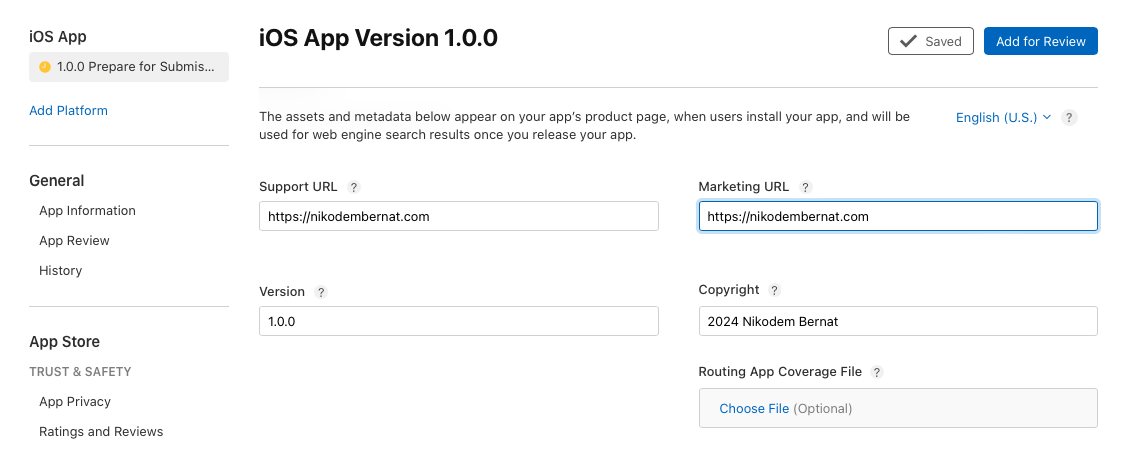
Next, check App Store Connect. The website that is used to verify ownership should be provided as Marketing URL in the app version view. Keep in mind that you can't change it without sending a new release for review, so it's a good idea to set it up as soon as possible.
When you are done with that, we are ready to implement ads in your mobile app.
Preparing the app
First, we have to add some native code.
In your android/app/src/main/AndroidManifest.xml, inside <application> add the following snippet:
<meta-data
    android:name="com.google.android.gms.ads.APPLICATION_ID"
    android:value="ca-app-pub-0000000000000000~0000000000" />
Replace android:value with App ID that you generated for your app. Be careful to paste the correct one for Android there.
Next, let's handle iOS. In your ios/Runner/Info.plist, inside <dict> add the following code:
<key>GADApplicationIdentifier</key>
<string>ca-app-pub-0000000000000000~0000000000</string>
Once again, make sure to enter App ID for the iOS app.
Once you are ready, let's move on to Flutter code and update our main.dart file. Add the following code:
Future<void> main() async {
  // Ensure that bindings to the widgets framework are initialized.
  WidgetsFlutterBinding.ensureInitialized();

  // Initialize your ads instance.
  // Keep in mind that you shouldn't wait for it to finish!
  unawaited(MobileAds.instance.initialize());

  // Rest of the code.
  runApp(
    const MaterialApp(),
  );
}
I made this main function async on purpose to show one very important thing - you shouldn't await the initialize() method! It's there only to reduce the latency before showing the initial ad, but it can take up to 30 seconds to finish. If you await it, you risk exposing your users to an awful experience. Of course, if your main isn't async then you can just call MobileAds.instance.initialize().
Implementing a banner
Finally, it's time to implement a banner that can show ads. We will create a reusable widget called GoogleAd that we can later place somewhere in our app.
Our StatefulWidget will consist of 5 main parts:
Variables for:
sizeof the ad, whether our ad isloaded, andbannerAdwith an instance ofBannerAd,Getter for
adUnitIdthat during development returns IDs of test ads and in the release mode shows real ads,initStatethat loads our banner ad and updatesloadedonce it's loaded,disposethat disposes an ad once the widget is unmounted,buildthat conditionally builds a card with our ad if it's loaded, or a placeholder in case our ad hasn't been loaded yet.
It looks like quite a lot of work, but don't worry - I have a snippet for you! Just remember to replace Unit IDs with yours. Keep in mind that this snippet assumes that your target platforms are only iOS and Android. google_mobile_ads doesn't work on other platforms, so it shouldn't be called for those targets.
import 'dart:io';

import 'package:flutter/foundation.dart';
import 'package:flutter/material.dart';
import 'package:google_mobile_ads/google_mobile_ads.dart';

class GoogleAd extends StatefulWidget {
  const GoogleAd({super.key});

  @override
  State<GoogleAd> createState() => _GoogleAdState();
}

class _GoogleAdState extends State<GoogleAd> {
  static const size = AdSize.largeBanner;

  bool loaded = false;
  BannerAd? bannerAd;

  String get adUnitId {
    if (kDebugMode) {
      // Unit IDs for testing.
      // See: https://developers.google.com/admob/flutter/banner#load_an_ad
      return Platform.isAndroid
          ? 'ca-app-pub-3940256099942544/6300978111'
          : 'ca-app-pub-3940256099942544/2934735716';
    }

    // TODO: Replace with your correct Unit IDs.
    return Platform.isAndroid
        ? 'ca-app-pub-0000000000000000/0000000000'
        : 'ca-app-pub-0000000000000000/0000000000';
  }

  @override
  void initState() {
    super.initState();

    bannerAd = BannerAd(
      adUnitId: adUnitId,
      request: const AdRequest(),
      size: size,
      listener: BannerAdListener(
        onAdLoaded: (ad) => setState(() {
          loaded = true;
        }),
        onAdFailedToLoad: (ad, error) {
          // TODO: Add some better logging.
          debugPrint('Something went wrong when loading the ad: $error');
          ad.dispose();
        },
      ),
    )..load();
  }

  @override
  void dispose() {
    bannerAd?.dispose();
    super.dispose();
  }

  @override
  Widget build(BuildContext context) {
    final child = loaded && bannerAd != null
        ? AdWidget(ad: bannerAd!)
        : const Center(
            child: Text('AD'),
          );

    return Card(
      clipBehavior: Clip.antiAlias,
      child: AspectRatio(
        aspectRatio: size.width / size.height,
        child: child,
      ),
    );
  }
}
Aaaanddd... That's it!
Almost.
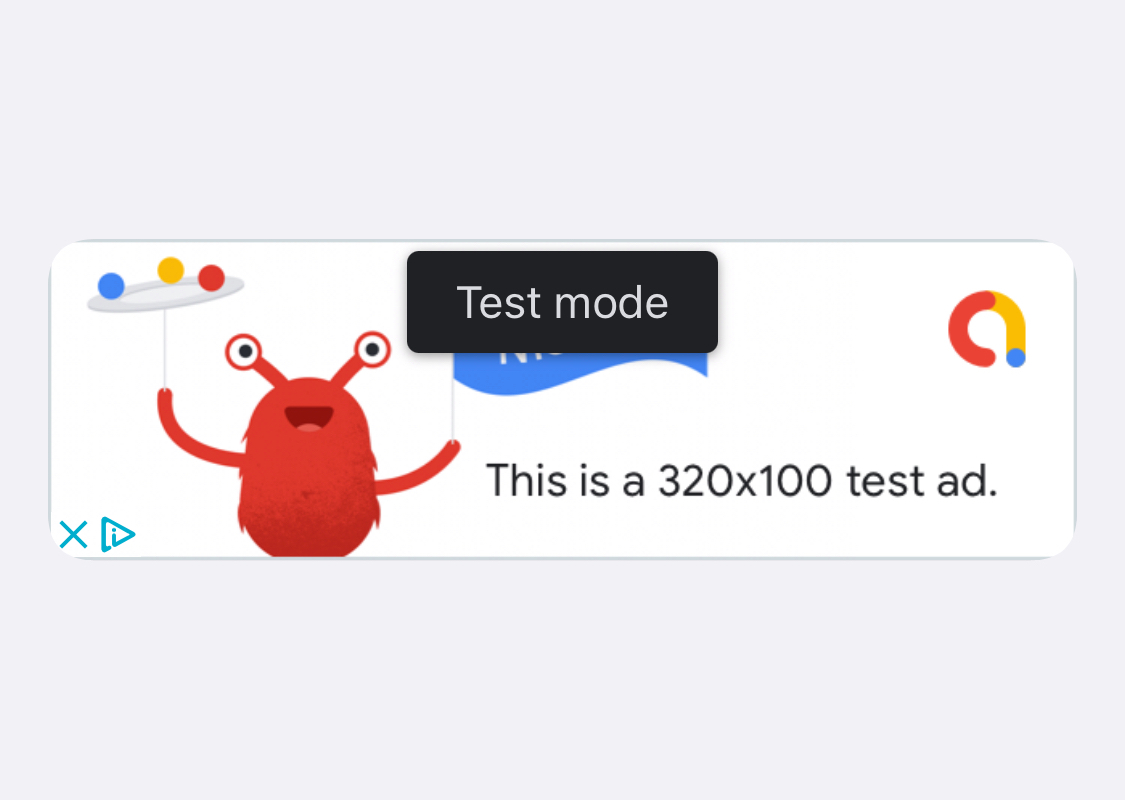
You can now place this widget in any place of your app and you should see a sample ad that looks like this:
The one last thing is to publish our app and update data in the AdMob console, because we didn't provide links to the app in app stores.
Final changes
You may wonder:
Do I have to make two separate releases - the first one without ads, and the second one with ads?
For such cases, you can use Firebase Remote Config, PostHog Feature Flags, or ConfigCat. Simply define a feature flag, publish your app with ads disabled, and once you are approved for showing ads - toggle them.
Having said that, once your app is published in both Google Play and Apple App Store, navigate to Apps -> App settings, and there you can see App store details section.
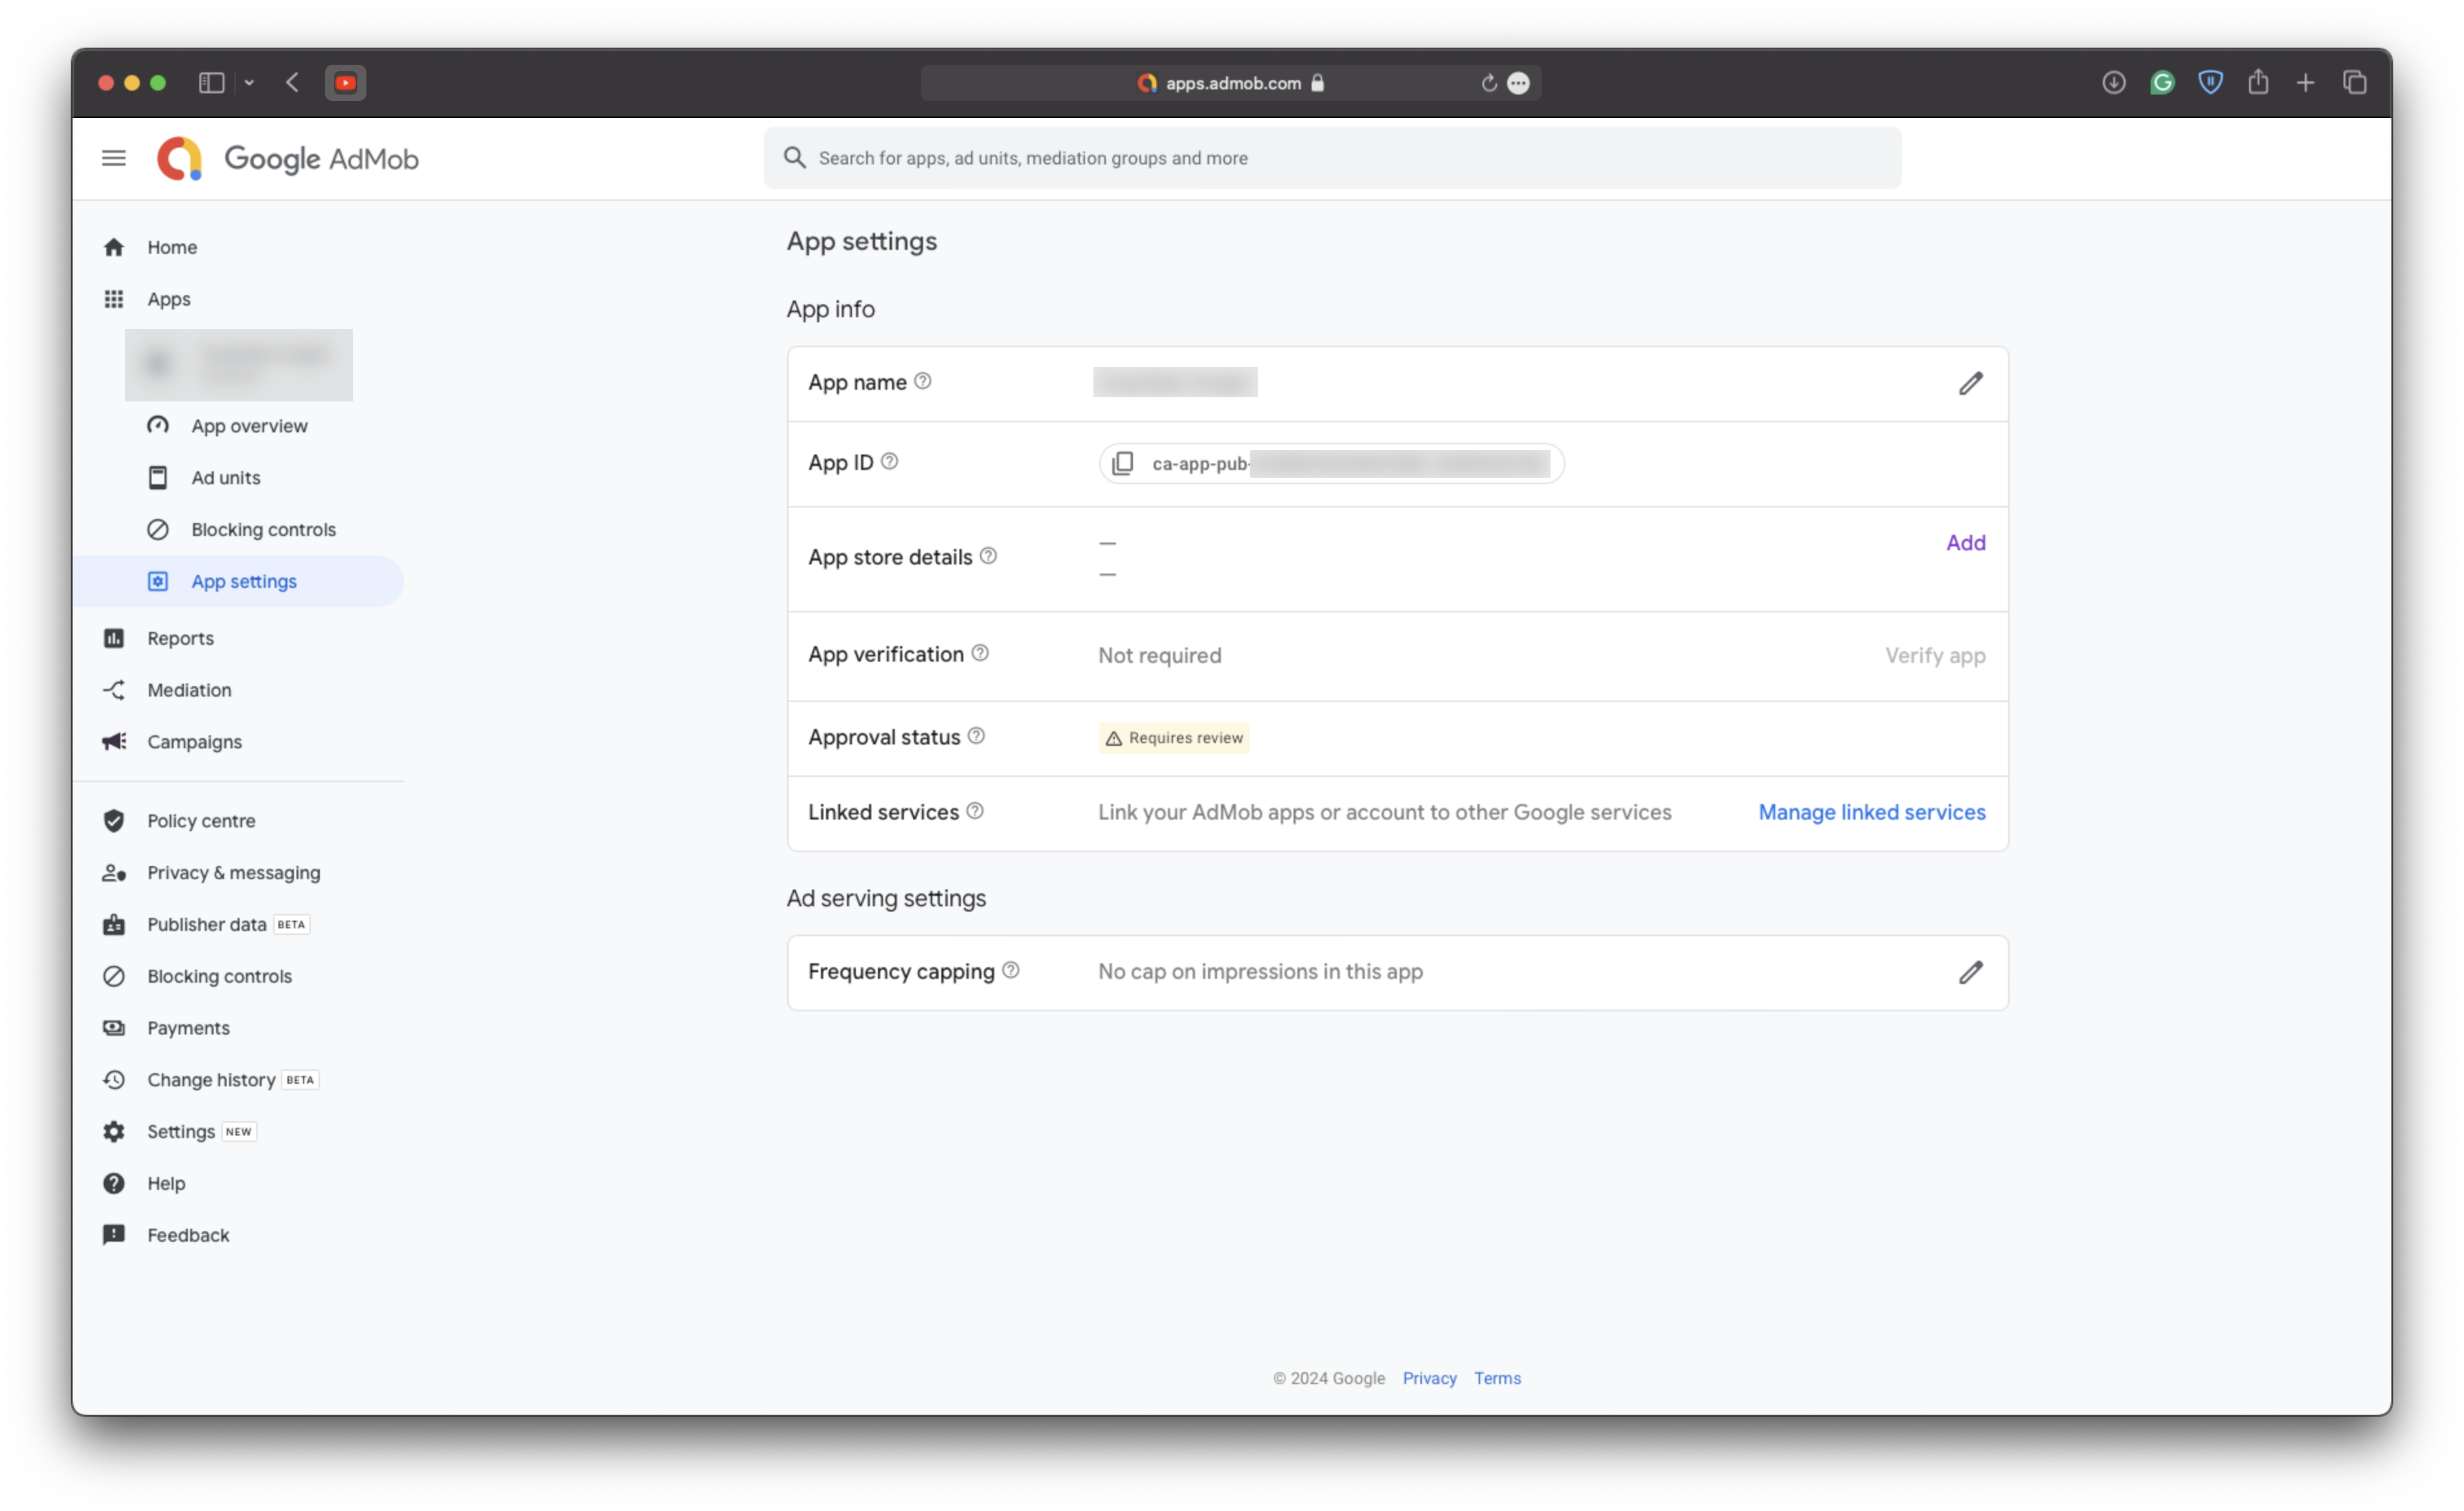
Click on Add and search for your app. Keep in mind that it can take a few days for your app to be discoverable by AdMob. Even if AdMob finds your app, it can initially show that there is a problem with app-ads.txt. Don't worry about it, it should disappear after a few days and then you can try verifying your app again.
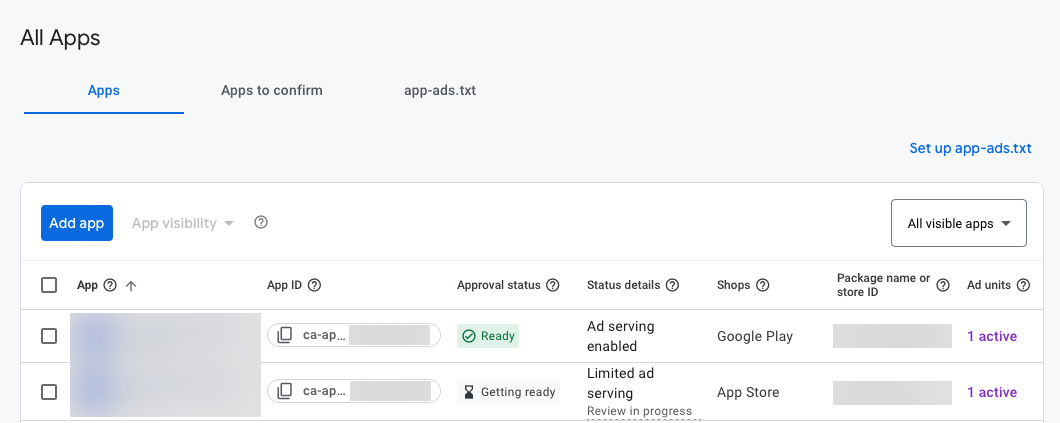
Once you are done with Android, repeat the same steps for iOS.
After adding both of your apps you should see a screen with your apps in "Getting ready" state. After some time (a few days, up to a week) it should change to "Ready" and it means that you are ready to show ads to your users!
Fin 🥐
If you enjoyed reading this article then feel free to follow me on X (Twitter) or check my other articles about Flutter.
You can also subscribe to my newsletter and get notified when I make more Flutter-related articles.
See you next time!